Click to replay or pause the video.
### **Creating a New API Group** Employing an API Group allows you to cluster API Accounts together within the groups you establish. It proves advantageous when you aim to categorise the accounts you possess alongside the authentications you've implemented. This procedure closely resembles the creation of API Accounts, but it's notably more streamlined. **To create an API group:** 1. **Click** the "Create" button in the top-right corner. 2. **Select** "Create API Group" from the dropdown menu. 3. In the popup, **enter** your desired group name. 4. **Click** "Create Group" to finalise. Your new group will appear on the dashboard. Use the top-right arrow to open the group, and the "Actions" button to edit or delete it. Subsequently, you gain the ability to generate fresh API Accounts within the newly formed group or transfer existing API accounts from other groups into this newly established one.Kindly be aware that all API Accounts need to reside within an API Group. You must create one before creating an API Account.
**Click** to replay or pause the video.
### **Creating a New API Account** The "API Accounts" page comprehensively lists API accounts associated with your user profile. It's possible to have multiple API accounts linked to a single user. Depending on your usage scenario, you might only require one API account as an individual API user. However, if you function as a reseller or an agency, managing Voila on behalf of different clients, the option exists to maintain multiple API user accounts. #### **To create a new API account:** 1. **Click** the "Create" button in the top-right corner and select "Create API Account" from the dropdown. 2. In the popup, **enter** a name for your account and generate a unique API key. This key is tied to your account—while it's not typically needed for requests, it's important to store it securely. It may be required for specific applications, such as internal tools within the Despatch Cloud framework. 3. **Click** "Save Changes" to complete the setup. Your new API account will then appear on the page, ready for use.Click to replay or pause the video.
### **Registering New Auths** Upon obtaining your API credentials for the courier service, the next step involves registering them with Voila. This process ensures that your credentials are securely stored within the Voila system, eliminating the necessity of including them with each request. These credentials are your authentication details for the courier, and to integrate a courier into Voila, you need to register a new authentication. #### **Registering a New Auth Account** To start the authentication registration process, go to the **"API Account"** page and find the **"View Registered Auths"** section. 1. **Click** the **plus (+) icon** to start. 2. From the dropdown list, **select your courier**. 3. **Fill** in the required fields based on your courier’s authentication details (these vary by courier). ##### **Field Explanations:** - - **Company** – If you have multiple accounts with the same courier, enter a company name to help differentiate them. - **Testing** – Set this to **"Yes"** if you're in a test environment; otherwise, leave it as **"No"**. - **Credentials** – Enter any courier-specific details required for authentication. - For assistance on any specific Courier look at our **[documentation on Courier Setups](https://shipping-documentation.despatchcloud.app/books/courier-directory-0op/chapter/courier-setups "Courier Setups")** 4. Click **"Save Changes"** to complete the setup. Congratulations, you've now effectively registered a new authentication within the system.Click to replay or pause the video.
#### **Registered Authentications Management** 1. **Click** "View Registered Auths" to see your saved authentications. 2. In the pop-up, you can: - **View Presets** – **Check** or create presets for the selected courier. Clicking this redirects you to the courier's service directory, you can review existing presets or establish new ones. - **Details** – **Access** and **edit** authentication details like usernames, passwords, or API keys. - **Delete** – **Click** the red bin icon to **remove** an authentication when needed. This feature provides a streamlined way to manage your API authentication settings, ensuring that all credentials are up to date and correctly configured.Click to replay or pause the video.
### **Keys & Tokens** When you click this button, you'll see two sections: **Account Key** and **Tokens**. ##### **Account Key** Each API account has a unique key generated at setup. Here, you can: - **Re-Generate Key** – Create a new key. - **Reset Key** – Replace the existing key ⚠️ This will disrupt any applications using the current key, read below.**A word of caution:** Should you choose to reset the key while it's concurrently in use by your applications, it will lead to a disruption, necessitating to update the key with the new key. This action might be taken to revoke access. For better control, we recommend using **tokens**, which allow multiple keys for different use cases.
##### **Tokens** Tokens are essential for authenticating API requests. Each token is linked to an API user, verifying a request's authenticity. In this section, you can: - View existing tokens. - Create a new token by clicking **"Create Token"**, naming it, and confirming. - Find newly generated tokens at the bottom of the screen. - Delete tokens anytime using the **bin icon**.Click to replay or pause the video.
### **View Shipments** Click **"View Shipments"** to go to the **Shipments** page, where you'll see a list of all shipment requests made by this API account. For more details, refer to the [**Shipments Document**](https://shipping-documentation.despatchcloud.app/books/shipments/page/shipments "Shipments").Click to replay or pause the video.
#### **Status and Actions** - **Cancel Shipment** – Allows you to cancel a shipment if it has not yet been processed by the courier. Once canceled, the shipment will no longer be active, and any associated labels or tracking numbers may become invalid. - **Download Label** – Enables you to download the shipping label generated for a shipment. This label contains all necessary shipping details, including the recipient’s address and tracking information, and can be printed for parcel dispatch. ##### **Actions:** - - - **Parcel Info** – Provides detailed shipment information, including package dimensions, weight, declared value, and tracking details. This section helps ensure accuracy before dispatch. - **Print Packing Slip** – Generates a packing slip that lists the items included in the shipment. This document is useful for order fulfilment, ensuring accuracy, and providing the recipient with a summary of their order. - **Print Commercial Invoice** – Produces a commercial invoice required for international shipments. This document includes details such as the sender and recipient's information, item descriptions, values, and customs declarations, ensuring compliance with international shipping regulations. [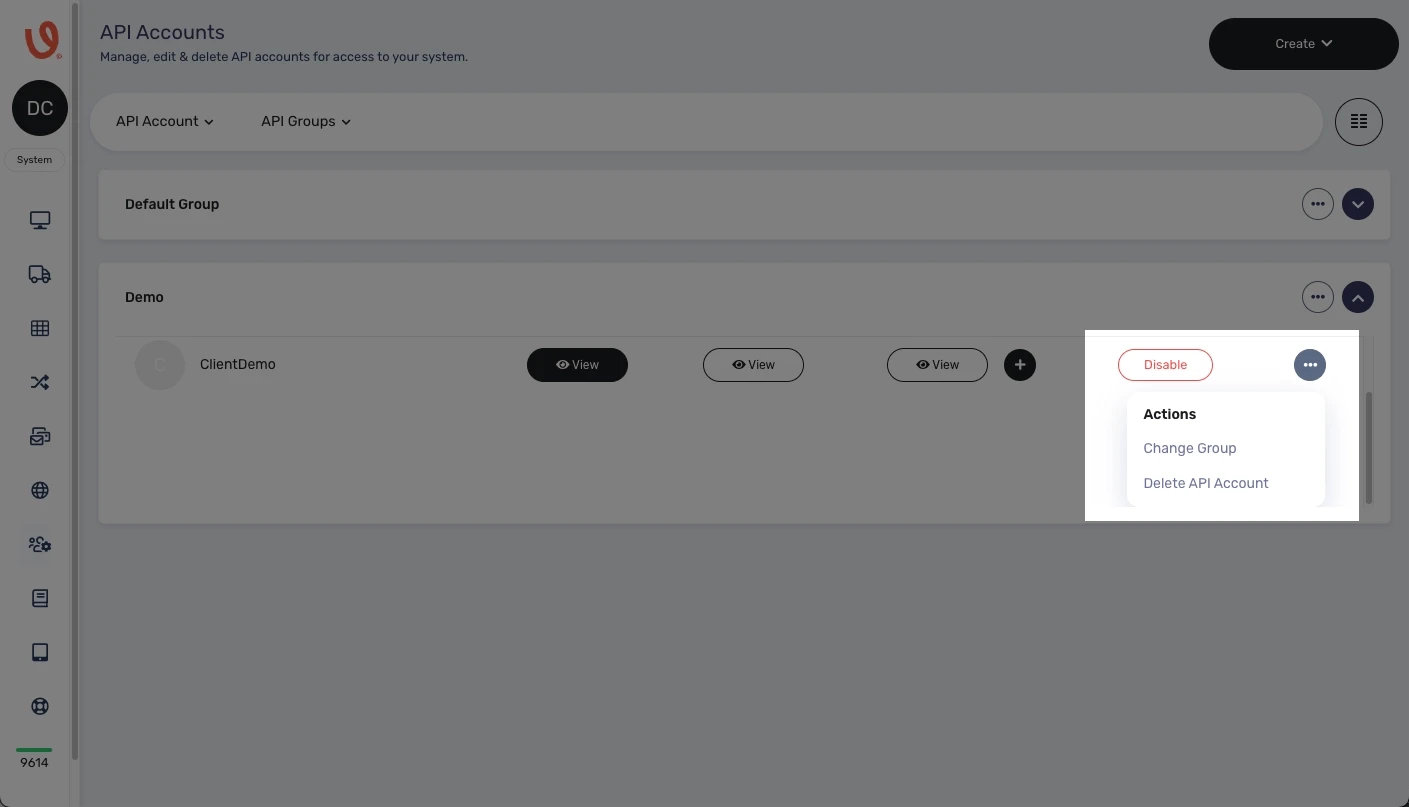](https://shipping-documentation.despatchcloud.app/uploads/images/gallery/2025-02/actions.webp)Click to replay or pause the video.